
XM Stocks
XM Stocks is a service included with an XM Satellite Radio subscription. This service is also available with an XM TravelLink subscription. With this ser- vice, you can receive updates via the navigation system on your personally selected stocks.
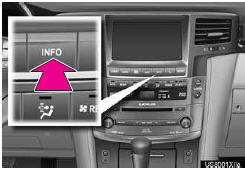
1 Press the “INFO� button.
2 Touch “XM Stocks�.
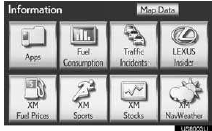
● The “XM Stocksâ€� screen is displayed.
● The following operations can be per-
formed:
• Stock data can be received.
• XM Stocks setting can be set.
RECEIVE STOCK DATA
You must first add your desired stocks prior to receiving data.
1 Press the “INFO� button.
2 Touch “XM Stocks� on the “Informa-
tion� screen.
3 Touch an individual stock to hear its re-
lated data, or touch “Read All� to hear
the data for all the stocks saved in the
system.
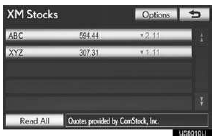
● The selected data will be read out in its
entirety.
● Stock data may be delayed by approxi-
mately 20 minutes.
XM Stocks SETTINGS — ADD OR DELETE STOCKS
To input your personalized XM Stocks settings.
1 Press the “INFO� button.
2 Touch “XM Stocks� on the “Informa- tion� screen.
3 Touch “Options�.
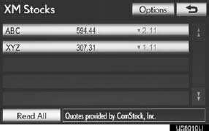
4 Perform each setting according to the procedures outlined on the following pages.
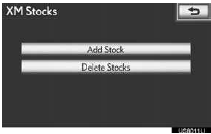
● Personalized XM Stocks settings can also be input from the “Setupâ€� screen.
ADD STOCK
1 Touch “Add Stock�.
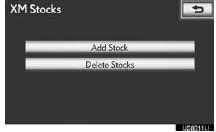
2 Input the desired stock symbol.
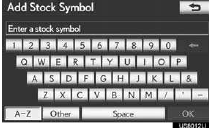
3 When finished, touch “OK�.
● Up to 10 individual stock symbols can be added and saved in the system for which information will be received. Stocks must be input one at a time. To enter a stock, the symbol of the desired stock must be known.
DELETE STOCKS
1 Touch “Delete Stocks�.
2 Touch the individual stock to be deleted or touch “Select All� to delete all the stocks, and touch “Delete�.
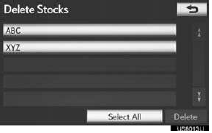
3 Touch “Yes� to confirm or “No� to can- cel.
See also:
Adjusting the settings manually
- Adjusting the temperature setting
Press “� on the “TEMP� button to increase
the temperature and “� to decrease the
temperature.
- Changing the air outlets
Press the ai ...
Screen scroll operation
When any point on the map is touched, that point moves to the center of the screen
and is shown by the cursor mark (
).
Use the scroll feature to move the desired point to the center of the sc ...
Registering ID codes
The tire pressure warning valve and transmitter is equipped with a unique ID
code. When replacing a tire pressure warning valve and transmitter, it is necessary
to register the ID code. Have the I ...